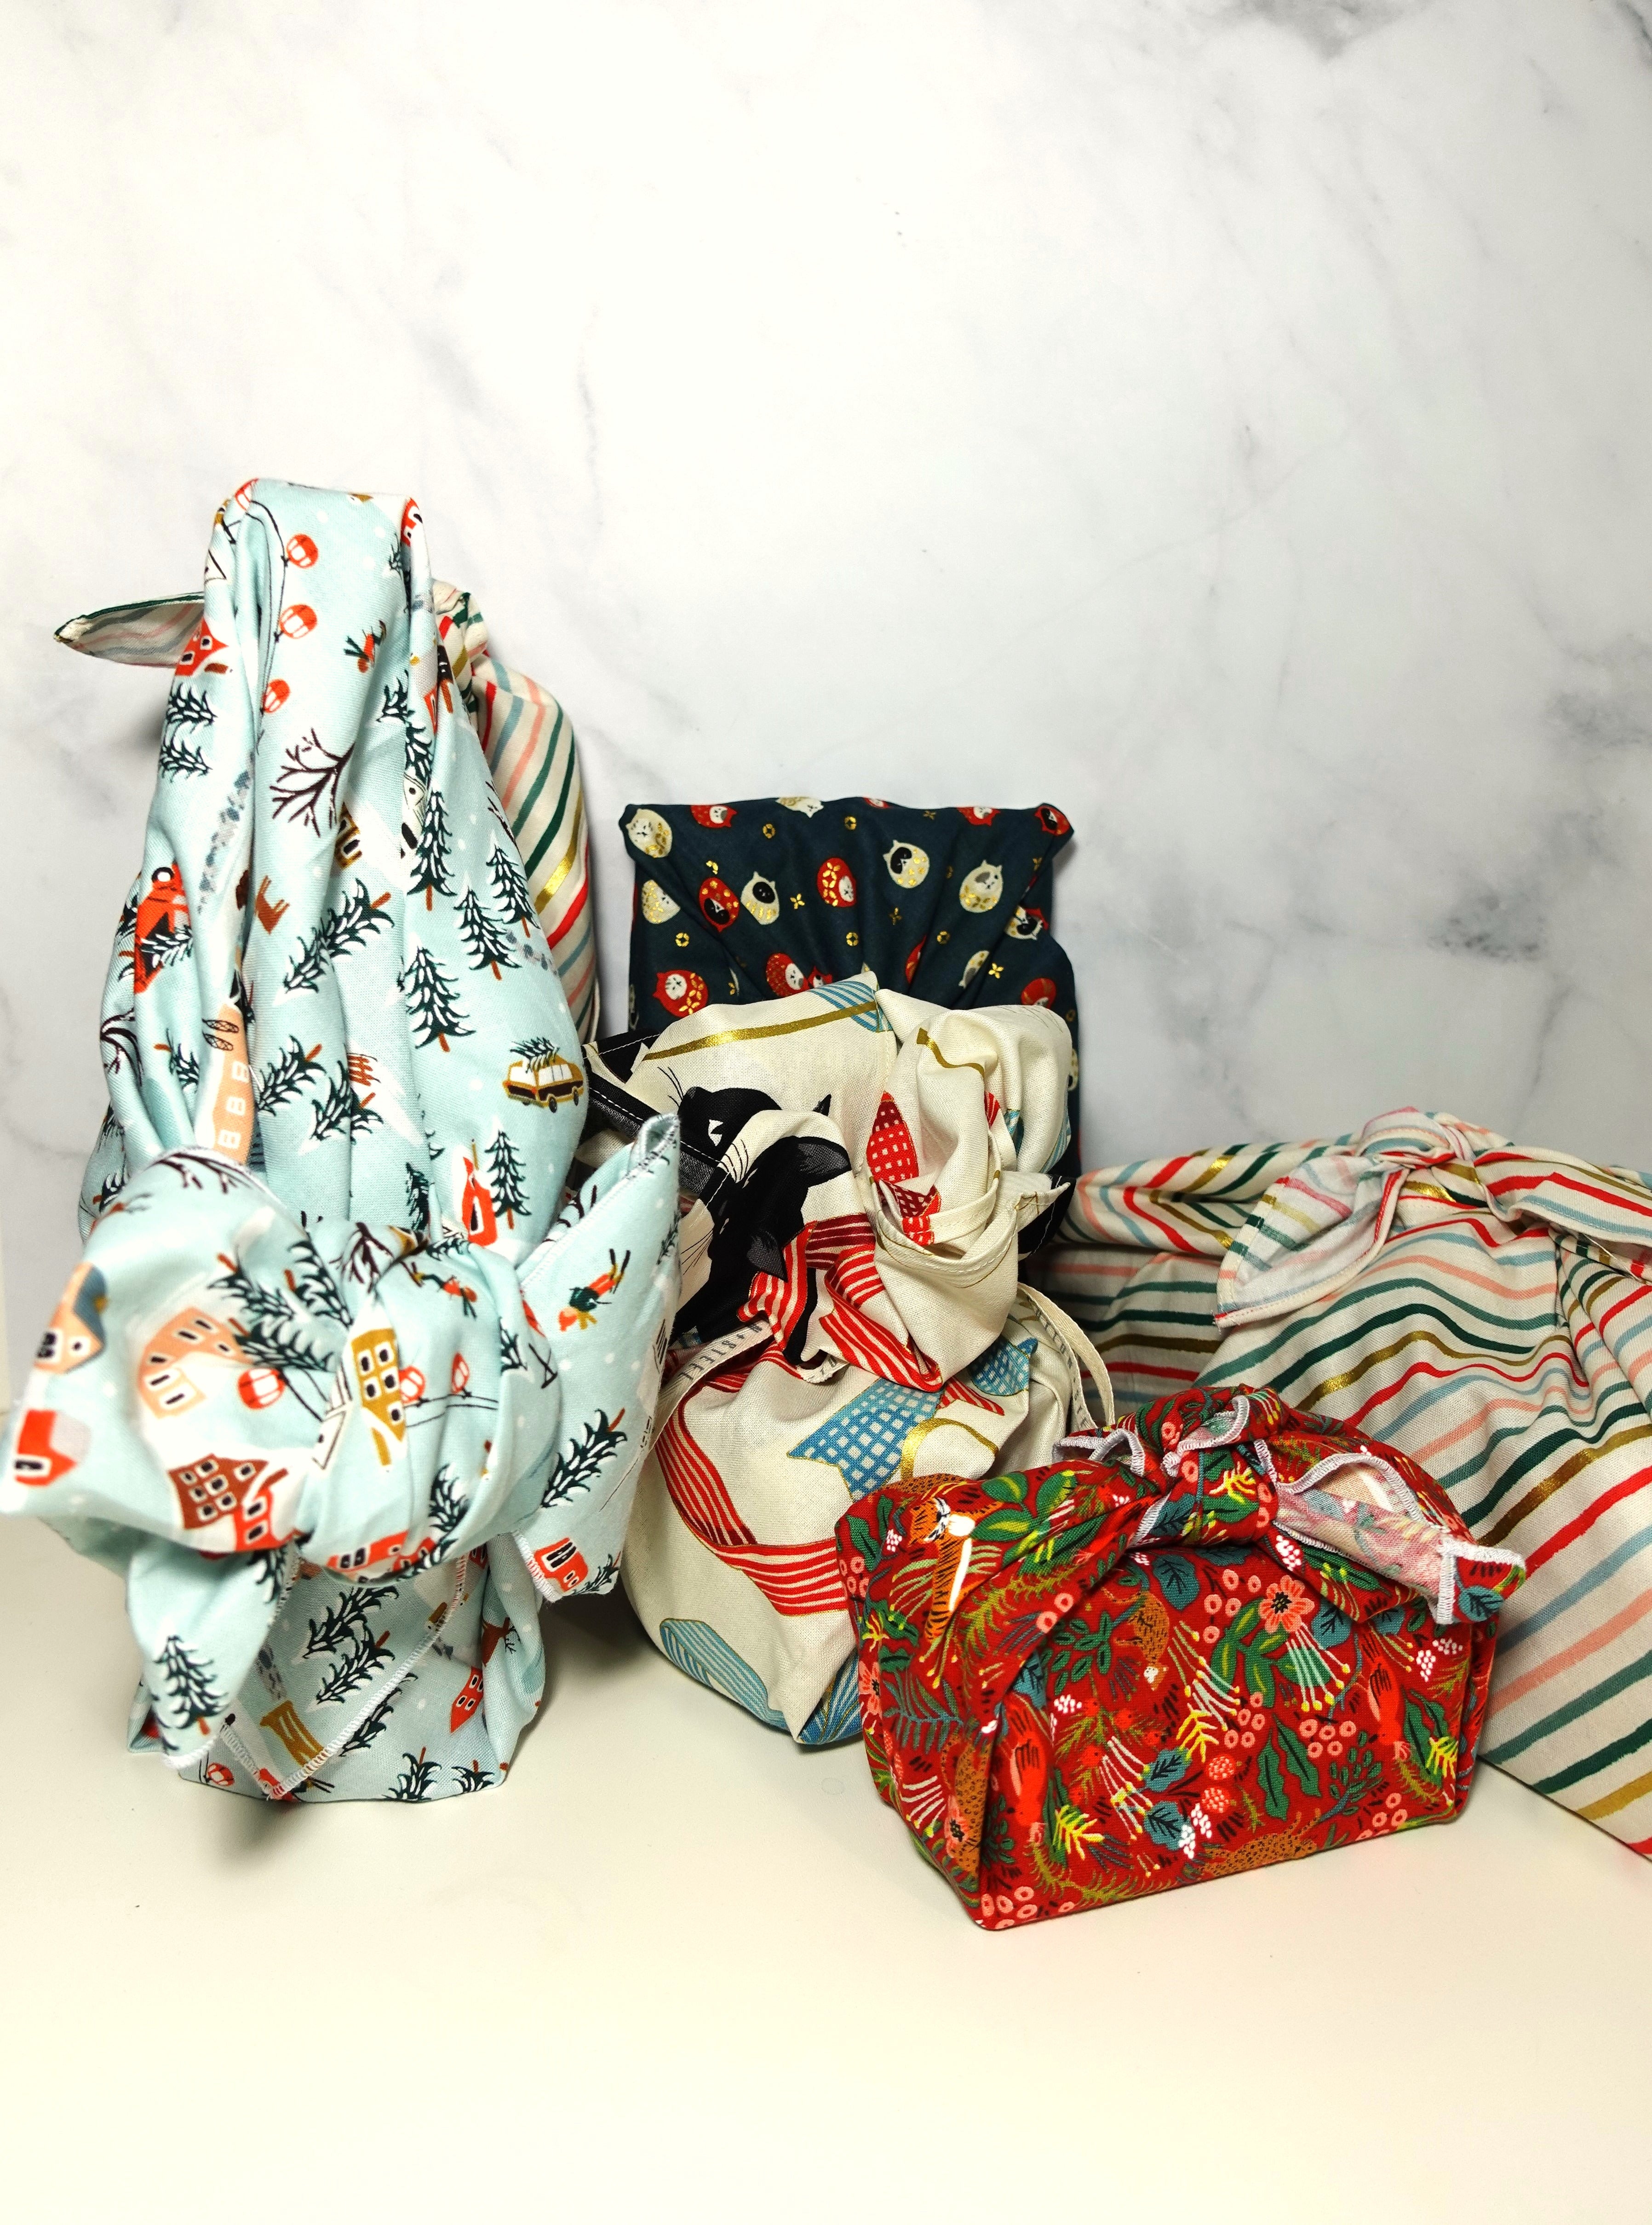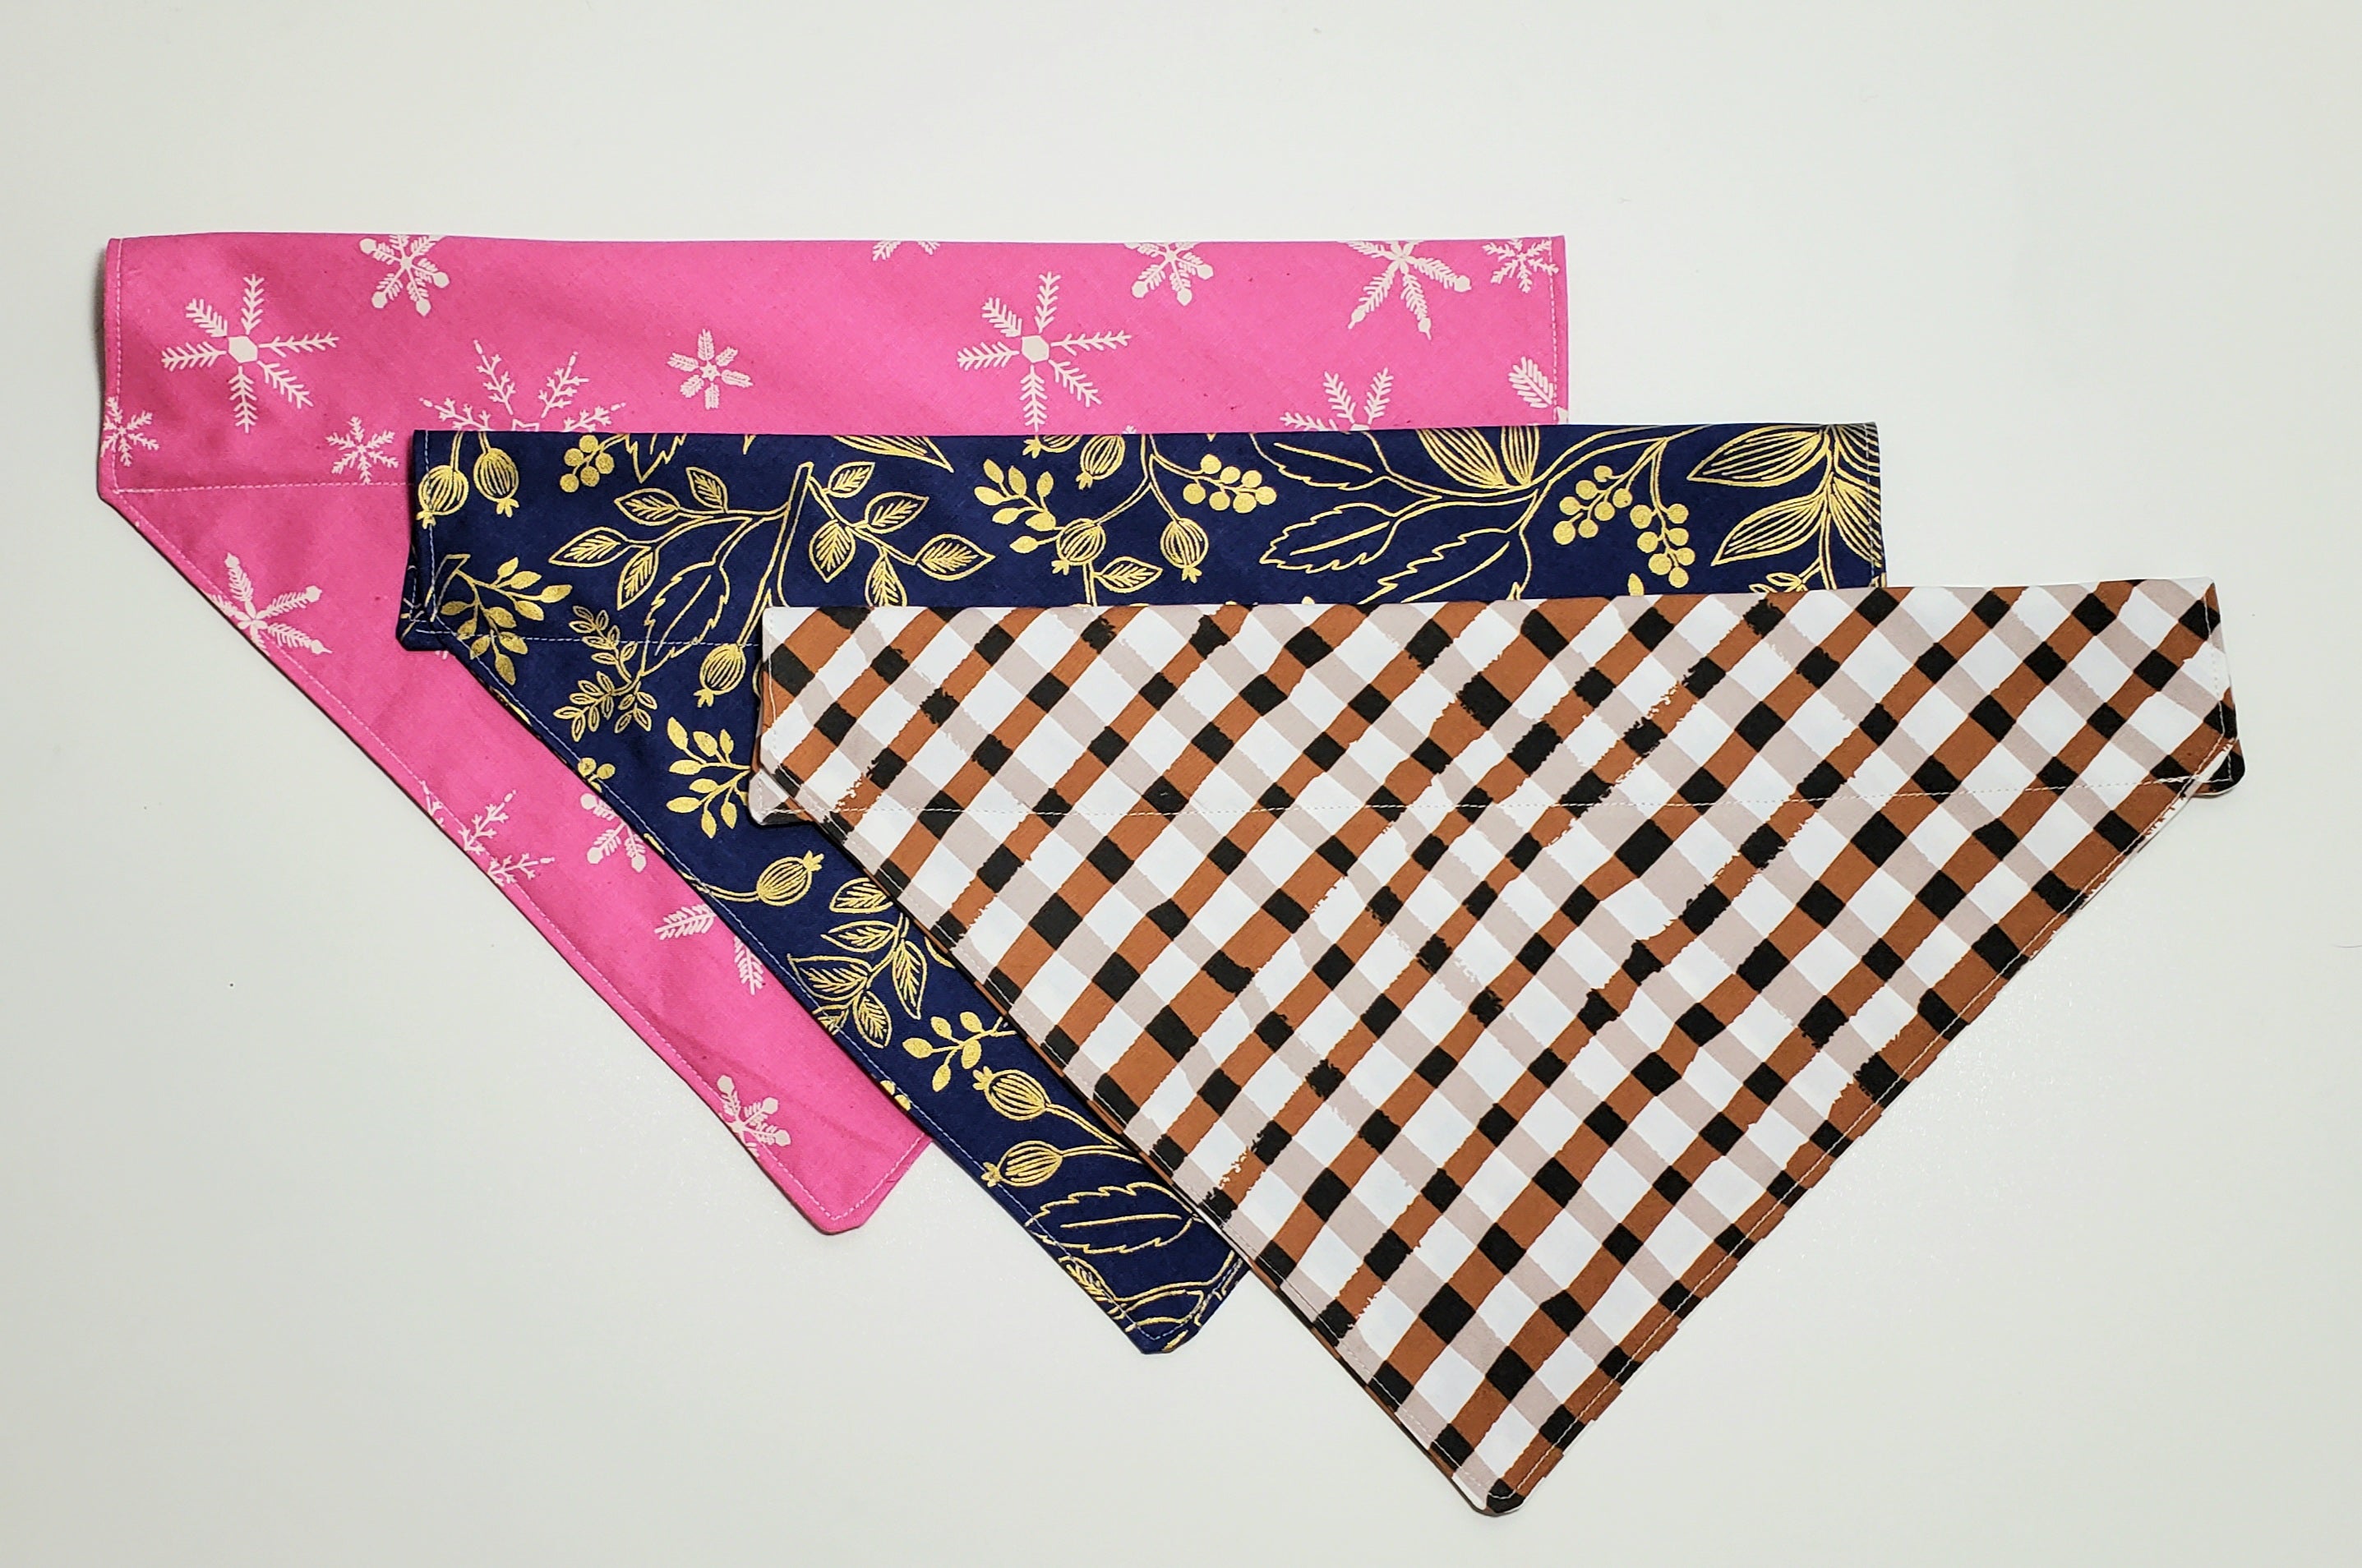
Do you go to fabric store and just get some fat quarters because they are just too cute? Yes, guilty. If you are lucky to have a dog friend in your life, here is an easy project to bust those fat quarter stash. Before you begin cutting into your fat quarter, make sure to wash, dry and iron our your fat quarter. The design has some gap opening for the bandana to fit over the collar, if you wash the bandana after sewing instead of before, the gap may shrink and may not fit over the collar.
Materials
- 1 fat quarter of cotton fabric.

Instructions
1. Fold your fat quarter over, creating a square triangle area. Cut along the extra material to turn your fat quarter into a square.


Note: This tutorial works best with non-directional fabric. If you want to use directional fabric, just frame the fat quarter folded triangle to your fabric as a template. I have it laid out here for example, you can see the diagnose from the FQ square will be bigger than the folded fabric off the bolt, so you will definitely need more than a FQ if you choose to make it with directional fabric.


2. Fold the triangle in half along the longest edge (ie. the edge that you used to fold the fat quarter into a square in the previous step).

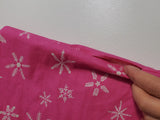
3. Measure from the top edge to the diagnose side to where it is about 5 inches from the top. Cut along this edge. Now you should have a folded piece of fabric that looks like a shape a bandana.


4. Keep the wrong sides together, sew along the edge of the bandana, keeping a gap open for turning. Seam allowance is 3/8" (1cm).
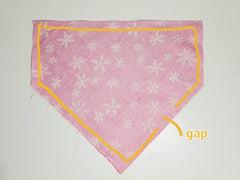
5. Trim the corner. Turn the bandanas inside out. Tuck the edge at the gap in nice and neatly.


6. Give it a good press then top stitch. You can wait to press at the end, but pressing now will give you an easier time to top stitch.

7. Fold the top down about two inches from the top. This creates a gap big enough for even the largest dog collar (which is about 1.25", size according to popular dog collars on amazon.com). If you didn't wash your fabric before sewing, this gap may shrink smaller and no longer fit the collar.

8. Pin along the edge. Top stitch over the other stitches. Thread the collar through the gap created and it's ready to use.